Alignex Blog

Create an Awesome Custom SOLIDWORKS Interface

Mack Rasmussen on January 12, 2016 at 8:30 AM

0 comments

Save time with an easy to create personalized SOLIDWORKS interface.

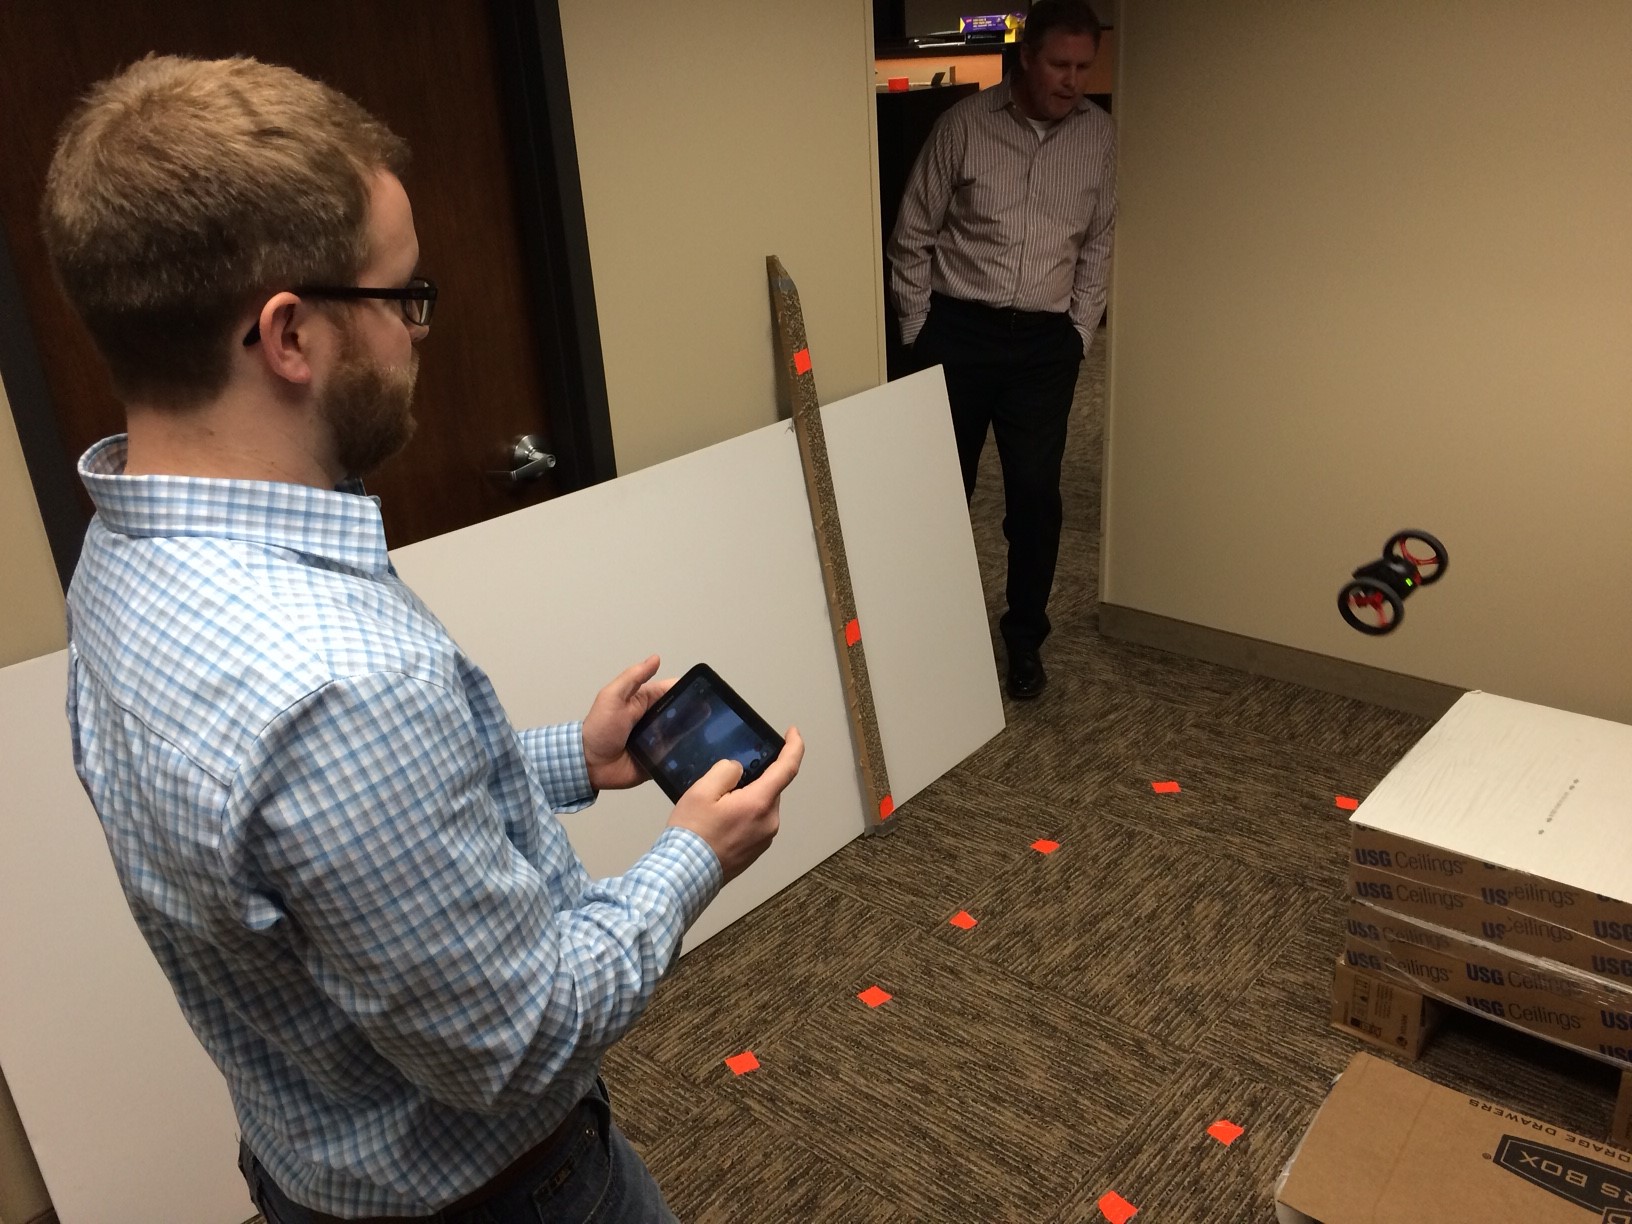
Much of our design time is composed of a multitude of picks and clicks, but what if we could cut that number of clicks with the same desired outcome? Personalizing your SOLIDWORKS interface to more closely mirror your typical daily design actions is a great way to accomplish this. By switching from normal command prompts and tool bars to more personalized "S" key and mouse gestures you can easily save yourself 35 percent, or even more, of your time.
Read More...

Optimize Your Hardware for SOLIDWORKS 2016

The Alignex Team on January 5, 2016 at 3:47 PM

0 comments

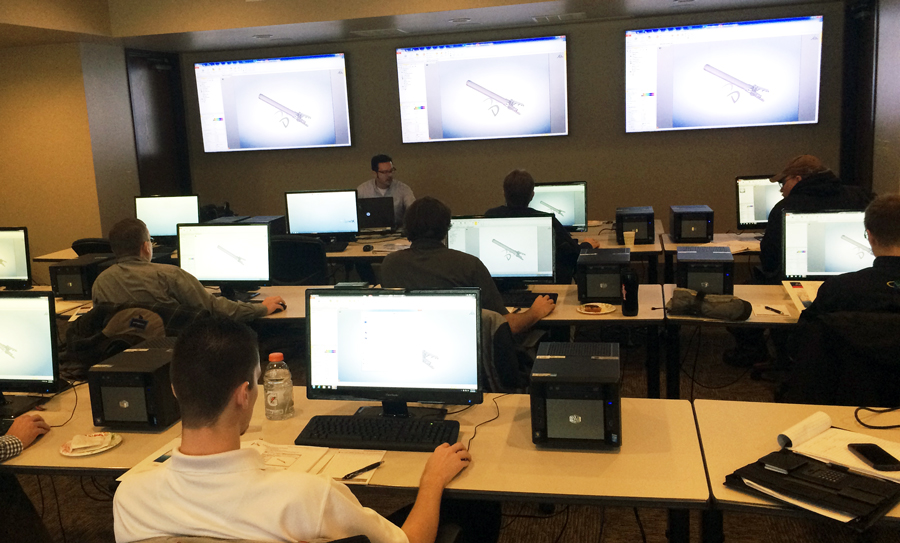
Since the release of SOLIDWORKS 2016, there have been a lot of questions surrounding hardware requirements, optimal RAM, video cards and more. To ensure you are always working with a SOLIDWORKS supported and optimized system, use these tips from the Alignex technical staff. Though these recommendations are a good starting point for spec’ing out a SOLIDWORKS machine, it is always a good idea to conduct your own hardware/software tests before purchasing any workstation, computer hardware or video card for SOLIDWORKS.

Read More...

Top 6 SOLIDWORKS Blog Posts of 2015

The Alignex Team on December 29, 2015 at 12:30 PM

0 comments

As 2015 comes to a close, we would like to thank you for a great year! We hope you’ve enjoyed reading and have picked up a few tricks along the way. Here are six of our best blog posts from 2015:

Read More...

Top Changes in SOLIDWORKS 2016 to Assembly Mates and Motion

Jesse Ortman on December 7, 2015 at 4:37 PM

0 comments

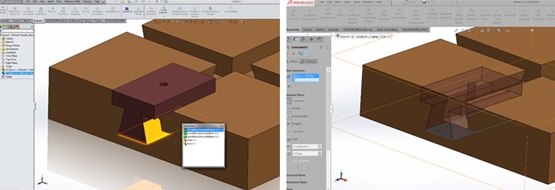
With the recent release of SOLIDWORKS 2016 there have been some really nice enhancements in the Assembly Mates arena. Some of these new enhancements are crowd pleasers and are sure to increase productivity for any user. Veteran users included.

The very first and probably the most productive one is when you are in the Mate command. The very first click you do on a face of a component turns that component transparent. This allows immediate visual and selection access to another component that was ‘underneath’ or ‘inside’ of it.

Read More...

How to Manage SOLIDWORKS Simulation Results with SOLIDWORKS PDM

Eric Weber on November 24, 2015 at 8:23 AM

0 comments

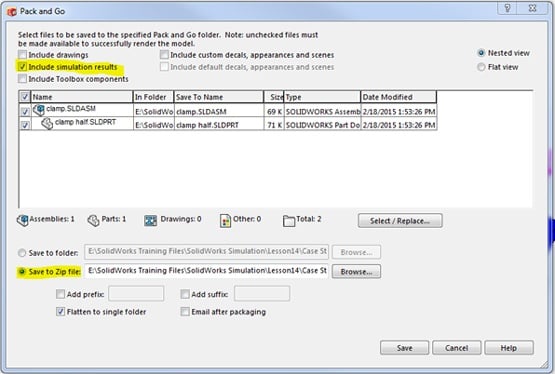
One question that often comes up from users of SOLIDWORKS Simulation and SOLIDWORKS PDM Professional (formerly SOLIDWORKS Enterprise PDM) is how to handle the simulation results files? This can be a difficult question to answer not always knowing different company’s policies. However, we do have some recommendations for using the two applications together.

Read More...

How to Fix SOLIDWORKS Launch Issues Caused by Windows Update KB3097877

Mack Rasmussen on November 17, 2015 at 12:08 PM

1 comments

After installing Windows Update KB3097877 on Windows 7 machines, SOLIDWORKS can fail to launch. Microsoft has identified the problem with Windows Update KB3097877 and a newer version has been re-released to resolve this issue.  

Read More...

Creating Multilayered Sheet Metal Exports

Travis Quick on November 11, 2015 at 2:41 PM

0 comments

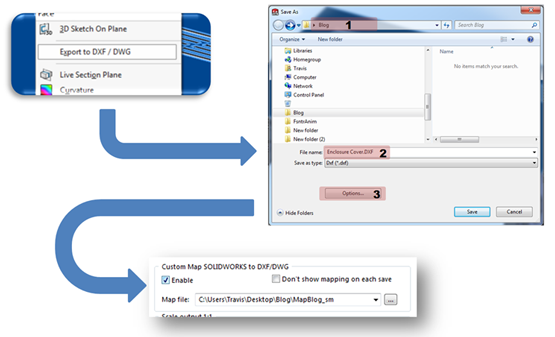
After spending a lot of time on a sheet metal model, we often like additional details to be shown in our DXF export. The same steps we cover here can be applied to DWG files and non-sheet metal parts as well.

In this post we will be manipulating our options to create separate layers for various items in our DXF file. This will enable the end user to turn on/off various layers in their 2D program and get a clearer picture of the final design. Let’s begin!

Read More...

Creating and Deploying an Admin Image: Part 2

Mike Strand on November 5, 2015 at 9:14 AM

0 comments

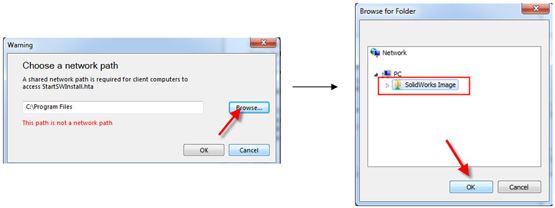
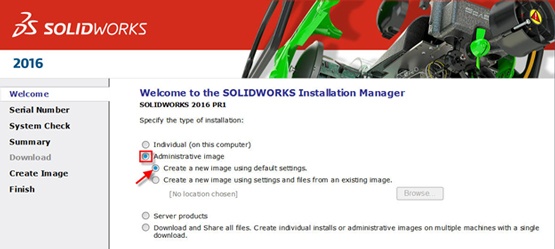
Whenever a user is installing multiple SOLIDWORKS installations, the administrative image can save time. During setup we can specify unique settings for a machine or group and select products for the install. Clients must have administrative privileges for proper deployment and installation.

This blog post is part 2 of 2 on how to create and deploy an admin image. It takes a step-by-step approach to manually deploying the admin image. We recommend reading our Creating and Deploying an Admin Image: Part 1 blog post first.

Read More...

Control the Length of a Path or Monitor the Distance an Object Travels

Cole McLeod on October 28, 2015 at 11:30 AM

0 comments

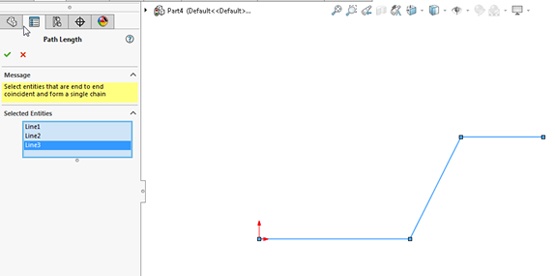
When designing systems, defining the path a mechanism or object will follow and controlling the actual length of travel can pose a difficult challenge. An often overlooked tool called Path Length Dimension solves this challenge as quickly as placing any standard dimension. 

The path can be a closed or open profile. Path Length Dimension can be driving dimensions that control the overall length or can be a driven dimension used to monitor the length of travel while other critical parameters are edited throughout the design.

Read More...

Creating and Deploying an Admin Image: Part 1

Mike Strand on October 19, 2015 at 8:59 AM

0 comments

Whenever multiple installations of SOLIDWORKS need to happen, an admin image is a good idea. It can be a huge timesaver. It evens allows you to customize which software is installed, as well as specify certain settings per group or per machine. Read on for step-by-step instructions on creating an admin image before deployment.

Step 1:  Launch the Installation Manager by running Setup.exe. Find setup.exe by downloading the latest service pack from the Customer Portal.

Read More...

0 comments

Leave a comment