Part Orientation
Whether plastic or composite, FFF or CFF, 3D printed parts are strongest in planes parallel to the print bed — so the print orientation can literally make or break a part. Deposition-based 3D printers build parts in layers of plastic laid down on top of one another. Almost always, the molecular bonds forming the material extrusion itself are stronger than the adhesive bonds of one extrusion of plastic laid on another. Think of the layers like cracks or wood grain - they are slices of material stacked together, so it’s easy to pull those slices apart vertically, or push them past each other in shear.

Before printing your part, consider where the pressures and loads are in your part and how it will propagate through the model. Where will it undergo bending forces? Tensile forces? Shear forces? If you’re not sure, think about how and where the part is being contacted, and from what directions. Draw a diagram if you need to! This will help you to make an informed decision about printing orientation.

Layer Height
Layer height in 3D printing doesn’t substantially affect part strength. Thinner layers have more extrusions of material per part, but the strands have a smaller cross section. Thicker layers have fewer, thicker extrusions. Layer height and bead cross-section essentially balance each other out and make the strength of different layer heights roughly equivalent. The specifics often come down to the settings of certain materials and printers.

Infill & Shells
The number of shells or roofs and floors you have will always have a greater impact on part flexural strength than infill. Shells will also generally improve tensile strength along planes parallel to the build plate, since they tend to follow load paths based on part geometry.
While infill does not affect part flexural strength as much as shells do, there are some reasons why infill is valuable. The infill serves as the internal support structure for the part, so without it, nothing would be holding the walls or shells together! Infill does add some stiffness to the part and prevents the walls of a part from deforming and the roof from caving in. With a less dense infill pattern comes decreased print quality and part success, so typical 3D printing infill patterns usually range from 30-50%.
The type of infill you use has minimal impact on flexural strength - to create stronger parts you can reinforce the shells with a backbone of continuous fiber to achieve If you need your part to be stronger or stiffer, you’ll see better success with continuous fibers. Faster, more reliable, etc. than printing a fully solid part. but different infill geometries can be used for different needs.
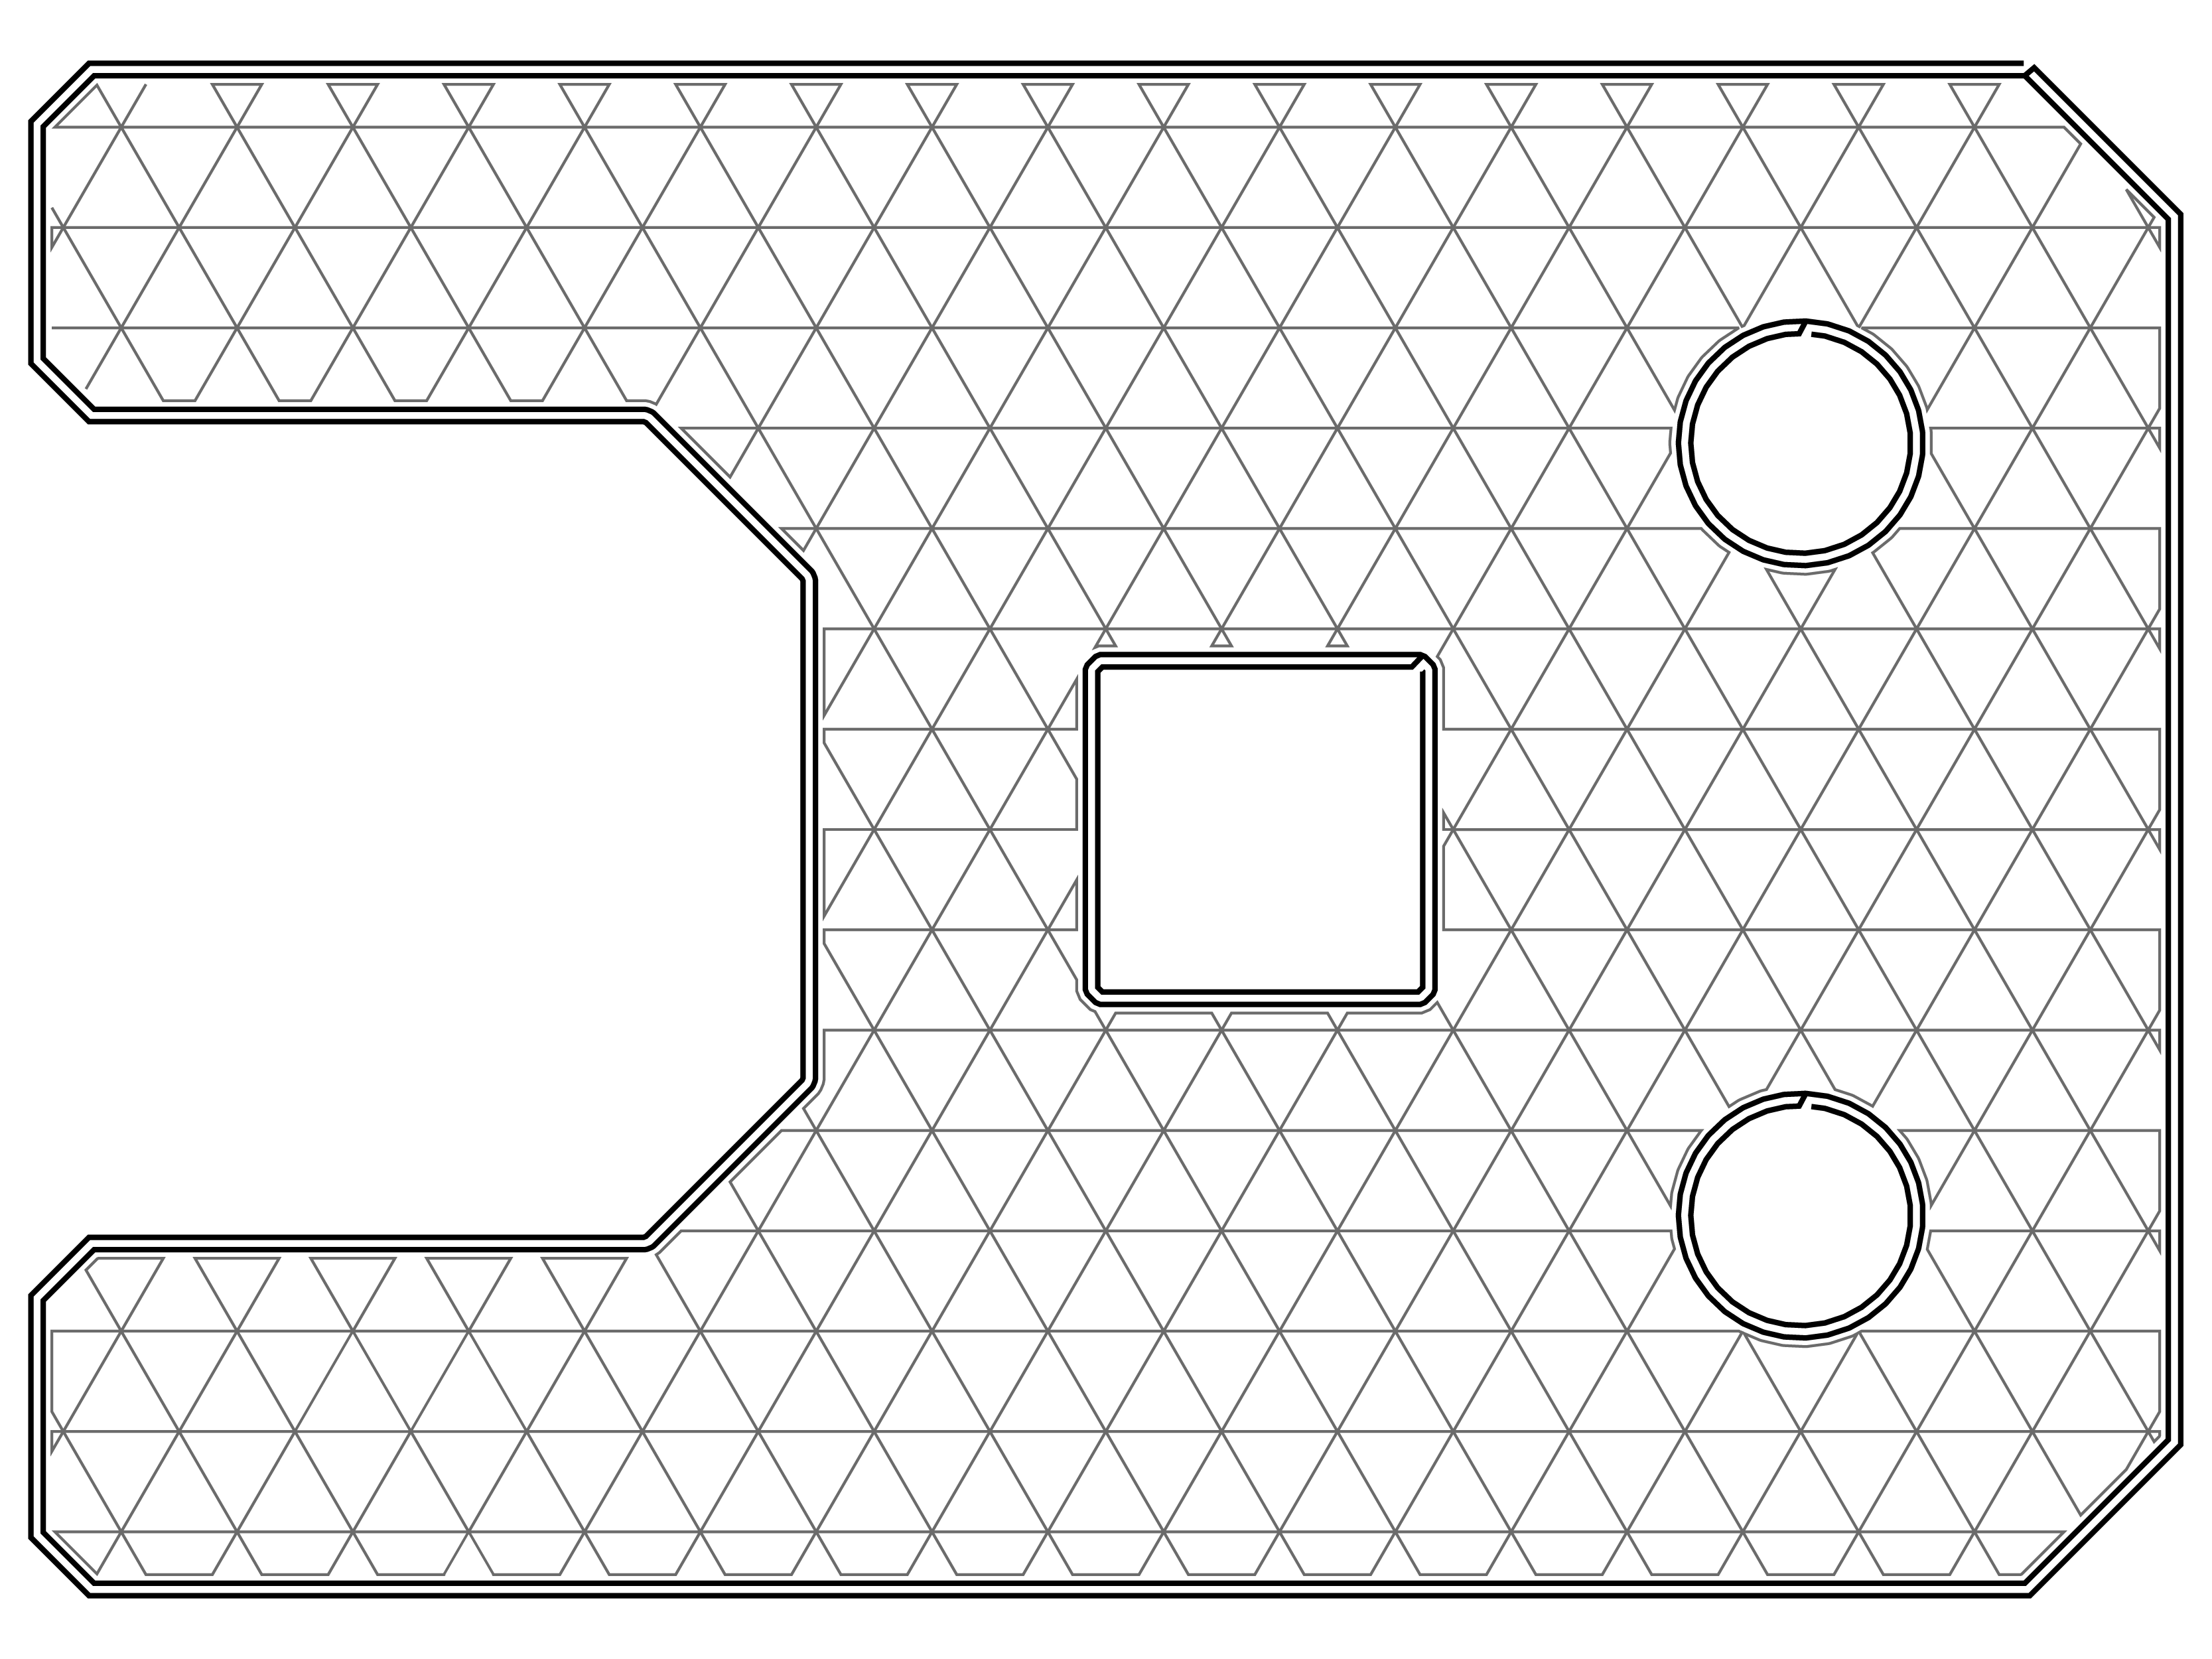
Triangular Infill: Triangular infill is the strongest infill pattern because triangles are the strongest shape. They are least likely to deform and provide the best support structure behind the walls of the part. This type of infill prints relatively quickly because the printhead mostly travels in straight lines across the part. The strength and the speed combined makes triangular infill one of the best choices for infill in 3D printing.
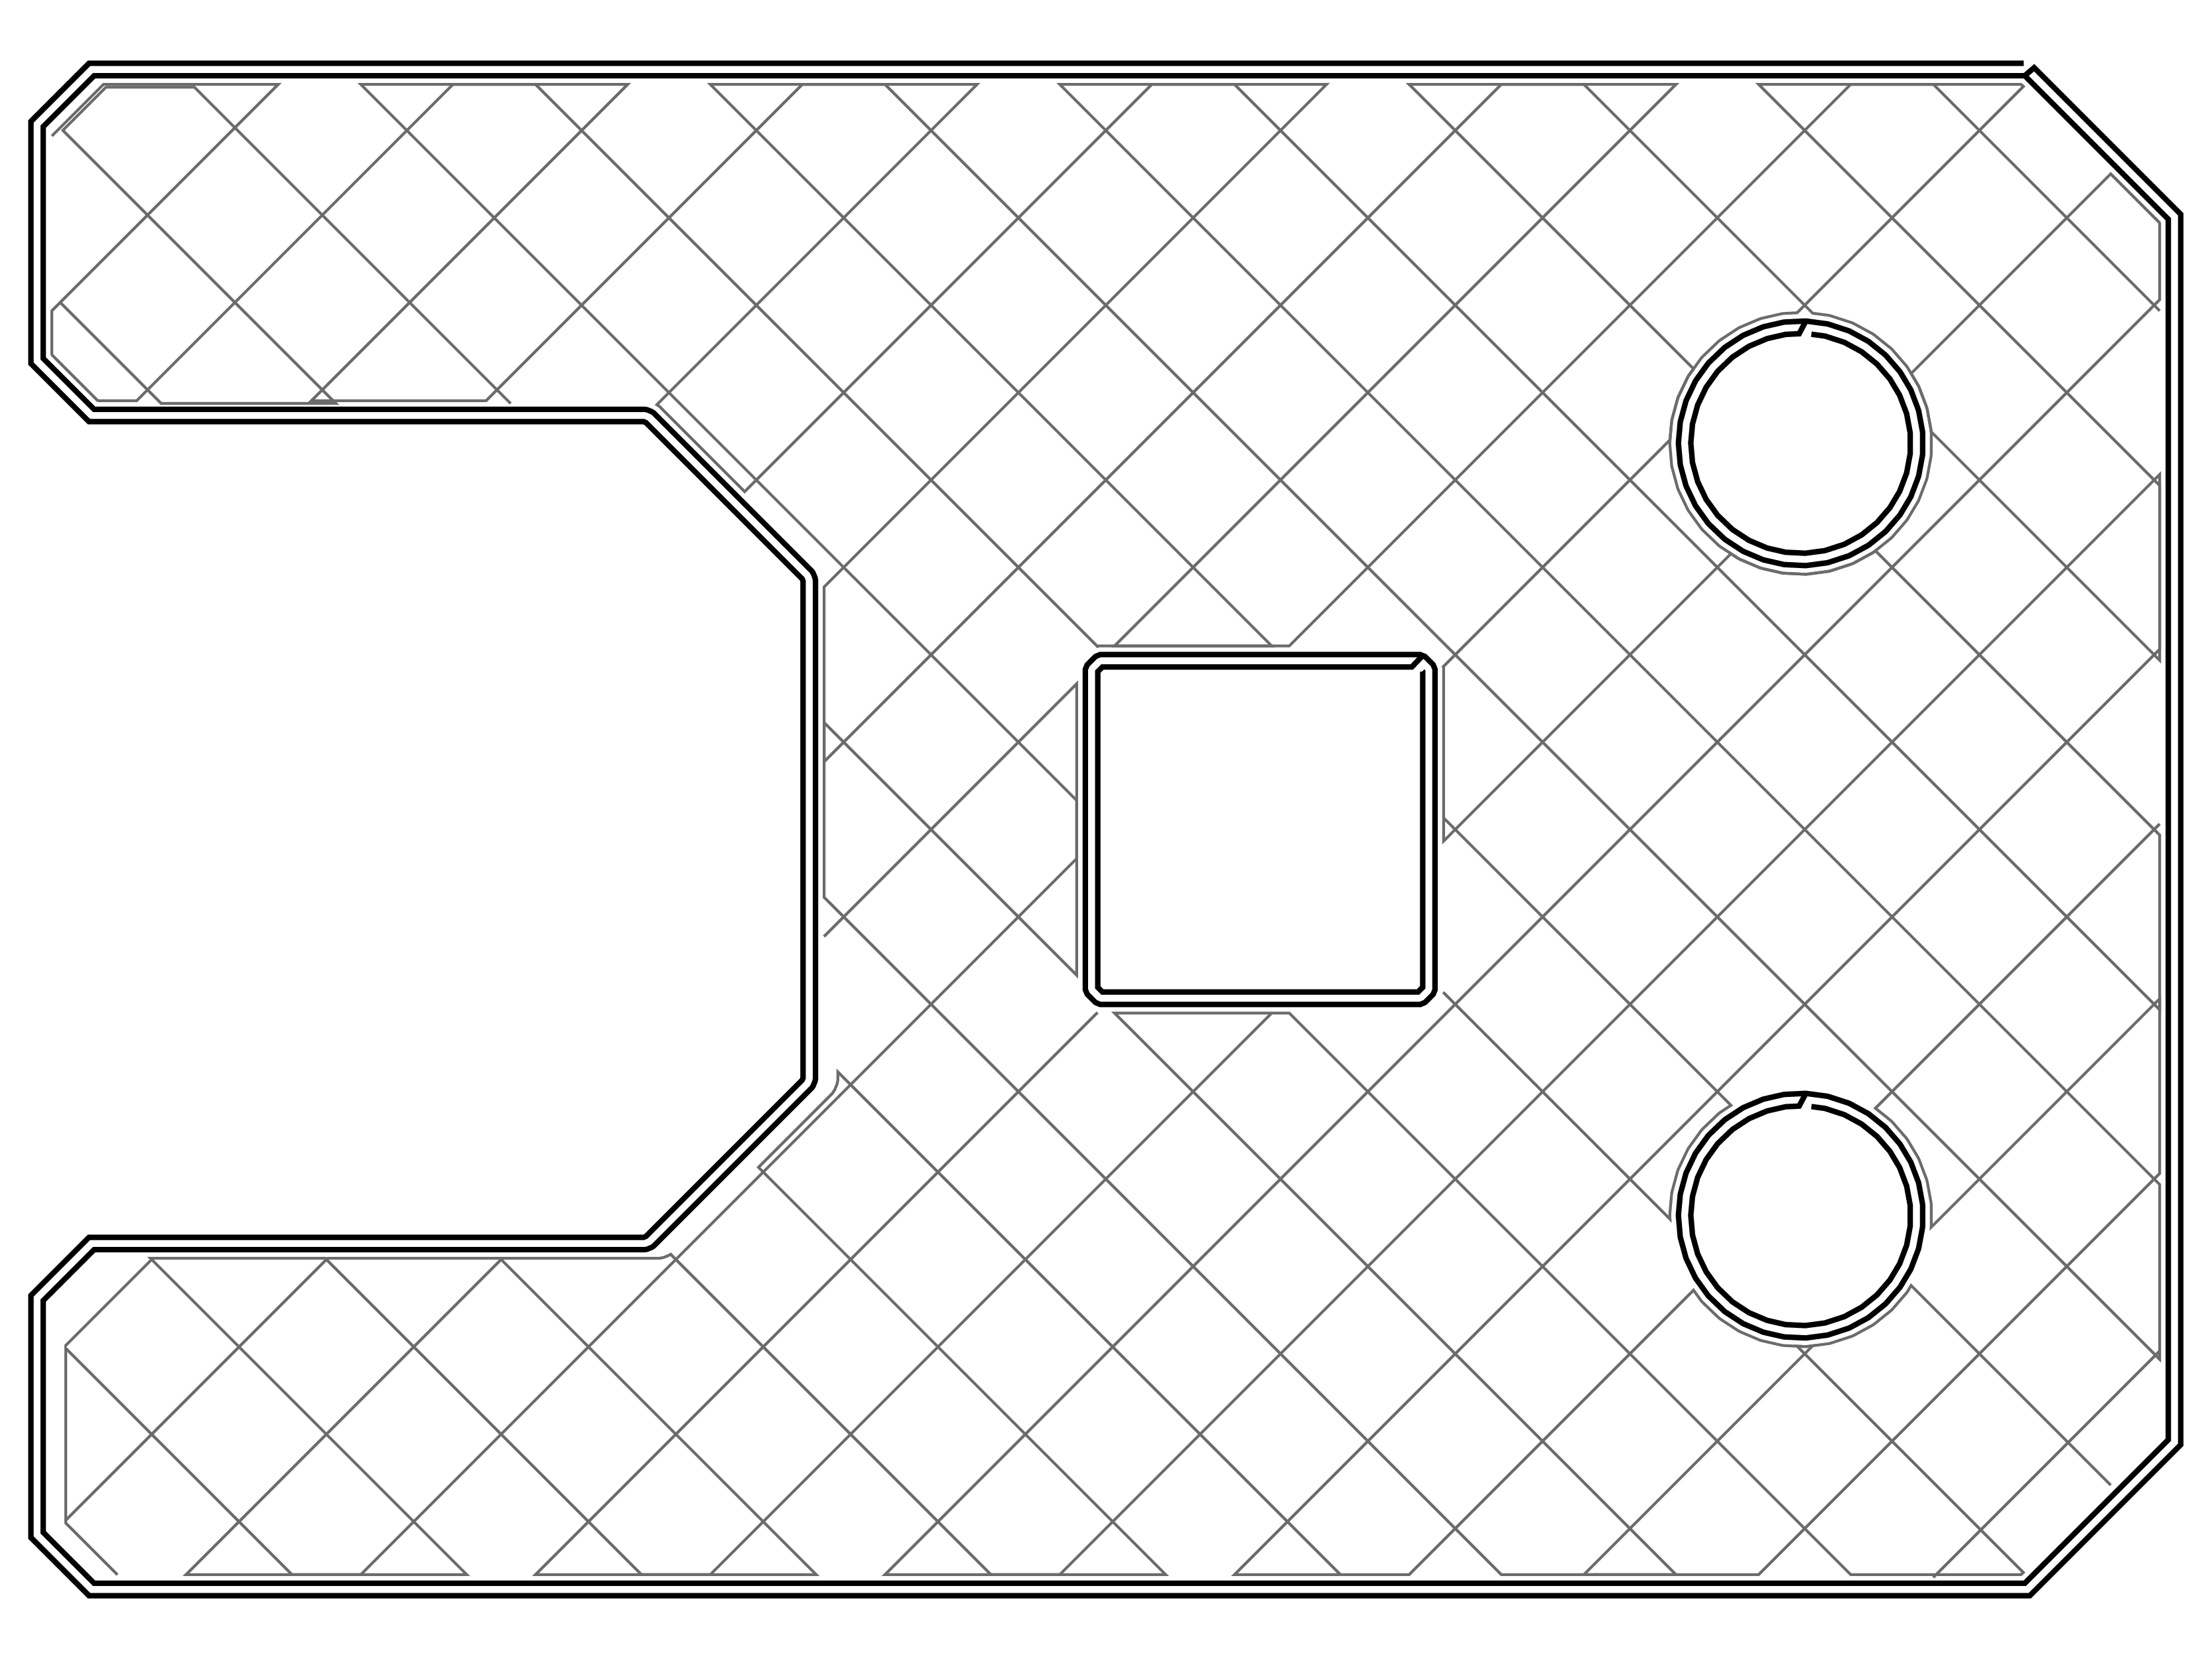
Rectangular Infill: Rectangular infill is the only infill type that can achieve a 100% dense part because it consists of a grid of parallel and perpendicular extrusions. Rectangular infill prints fast as well because the printhead travels in straight lines.
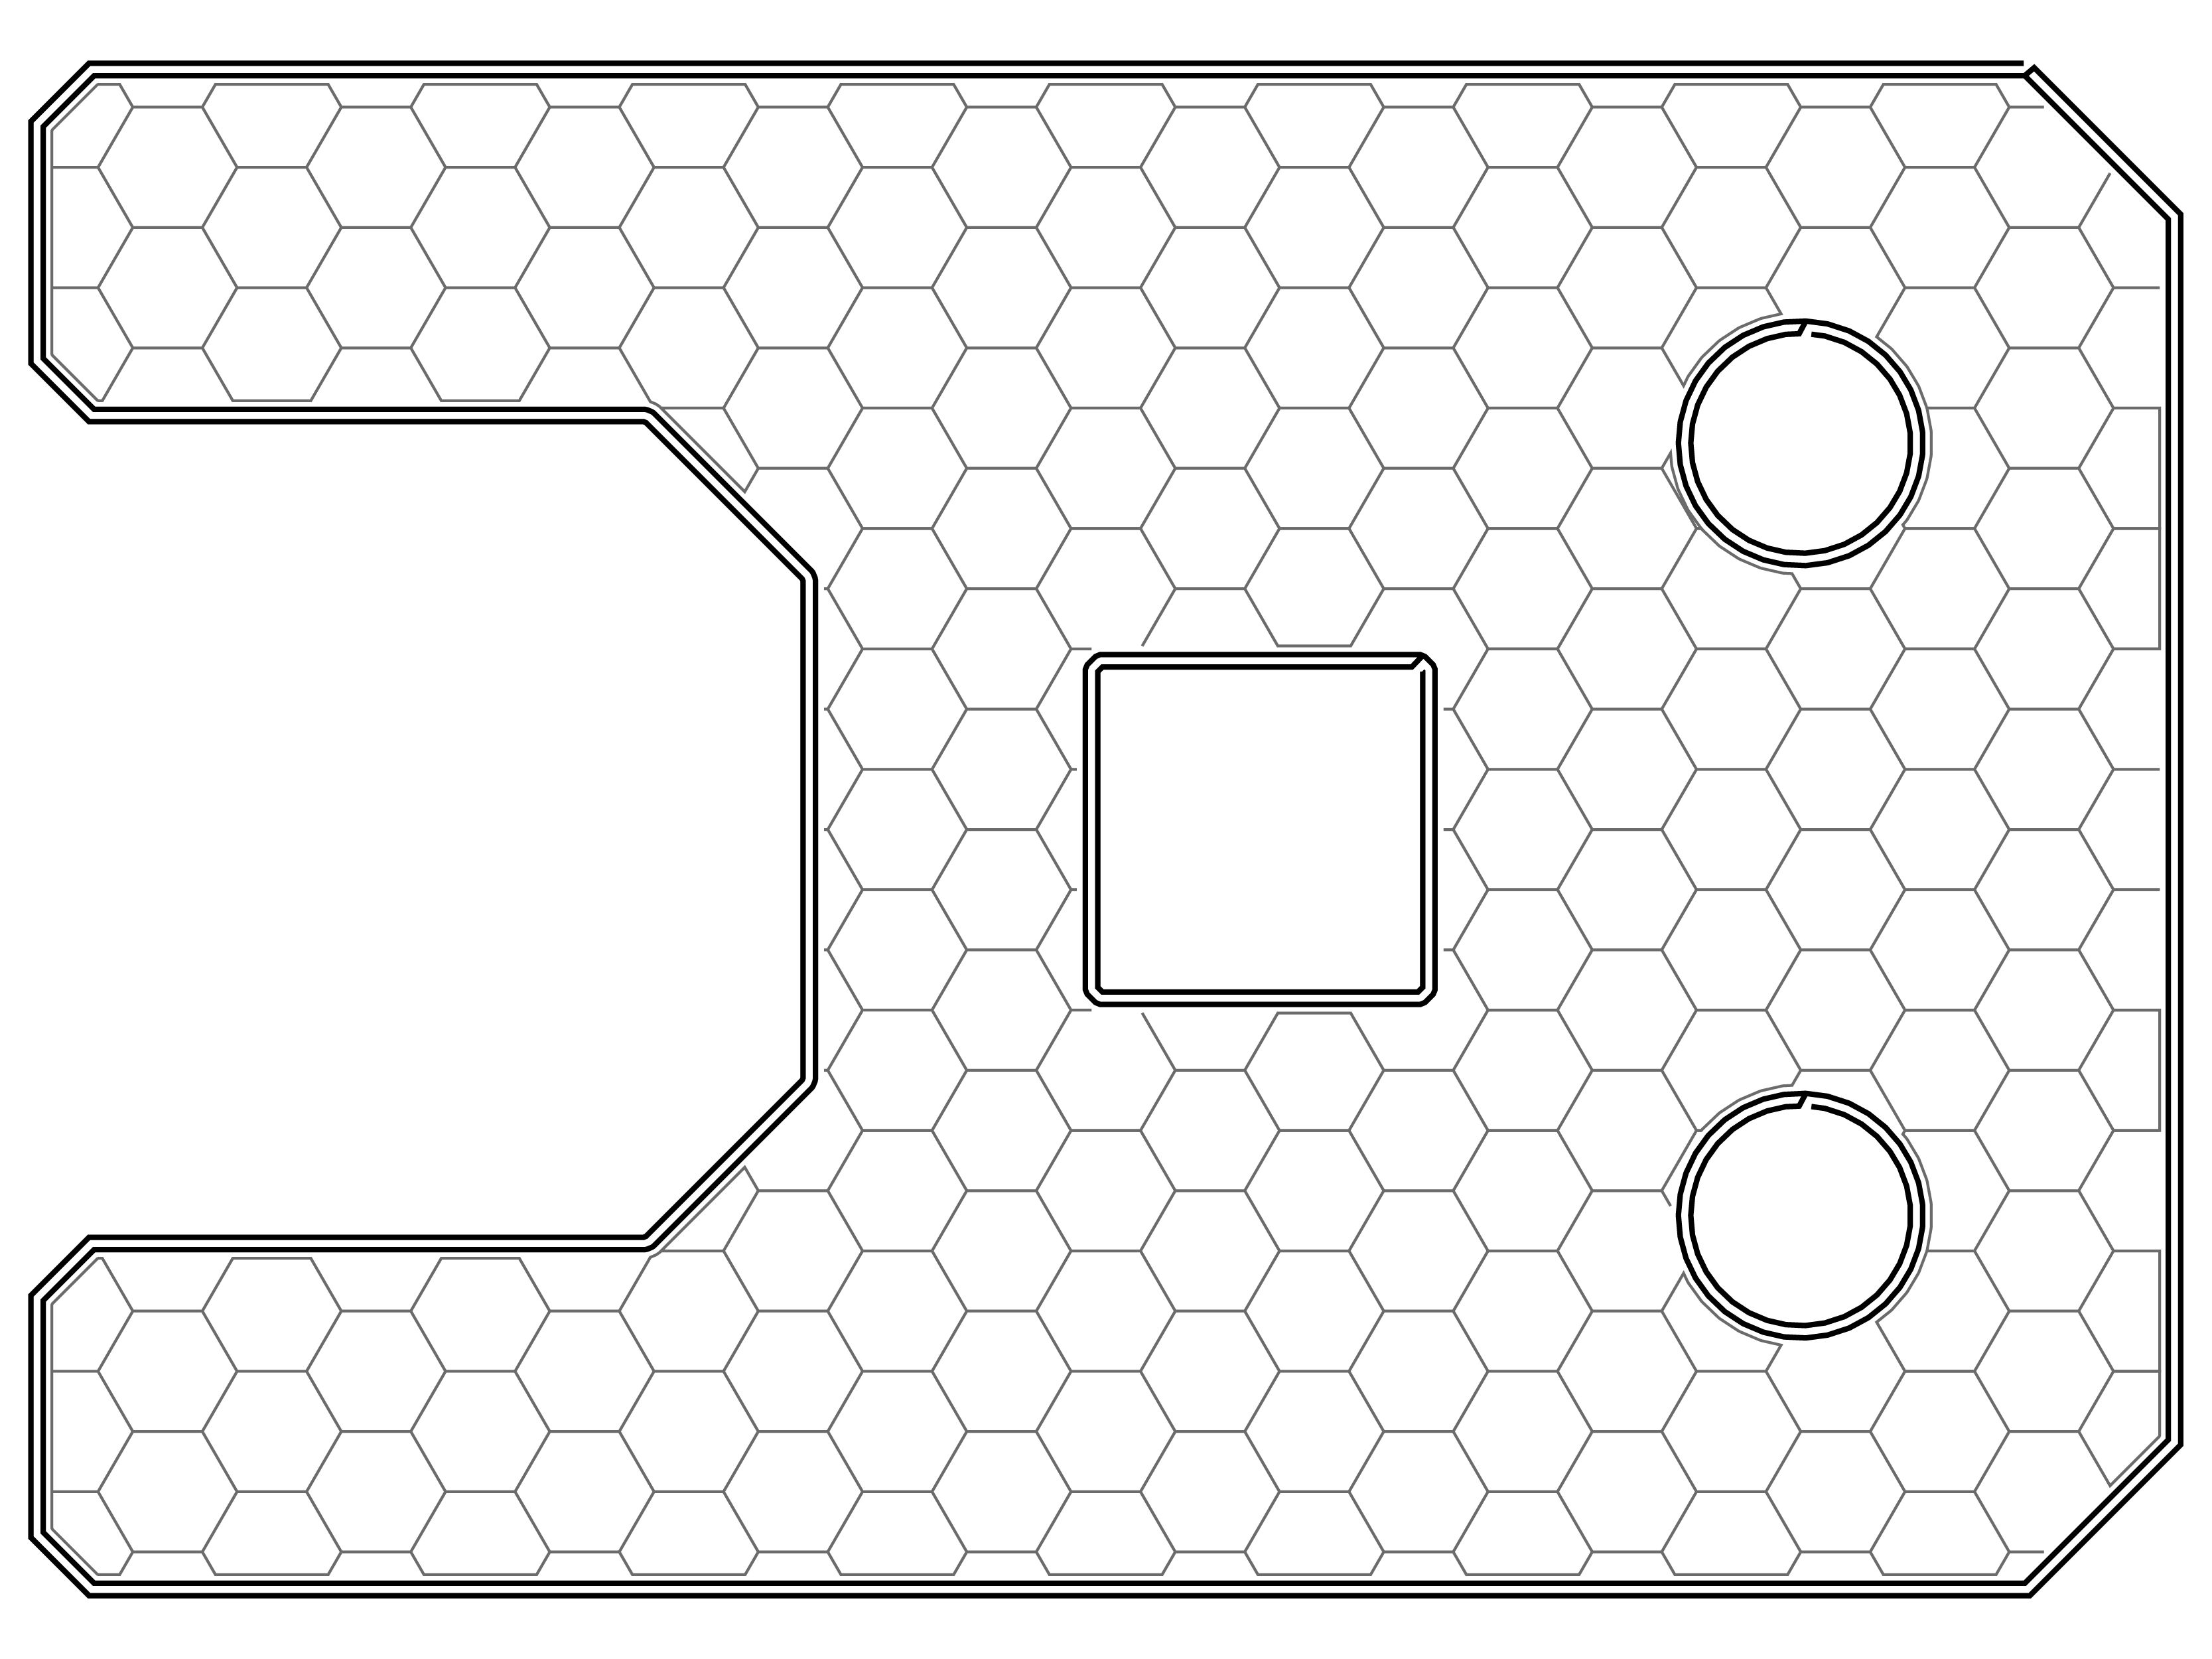
Hexagonal Infill: This fill type has the highest strength-to-weight ratio of any of the infill patterns as it is composed of tessellating hexagons. However, it takes the longest to print of any infill type because the printhead has to keep changing direction.
Continuous Fiber Fill
Regardless of infill type or layer height, parts utilizing FFF printing techniques can only achieve the strength of their base plastic at maximum. The strength of a part can be increased far beyond plastic strength with continuous fiber filament by routing continuous strands of fibers like carbon fiber, fiberglass, or Kevlar to the part. Different fiber placement options allow you to optimize where the fiber is laid out within your part to correspond with how your part will be loaded. For example, since the infill of a 3D printed part is a low-density scaffold structure, once infill is exposed it compromises part strength. If your part is intended to experience heavy wear, you can use Kevlar continuous fiber reinforcement, which, once exposed, is highly abrasion resistant.

Written by Markforged
Markforged is transforming manufacturing by addressing 3D printing as a holistic problem. Their process innovations are only possible by a combined effort in advanced cloud computing, cutting-edge materials science, and industrial design.